How to manage the zingers after a professional whitening session
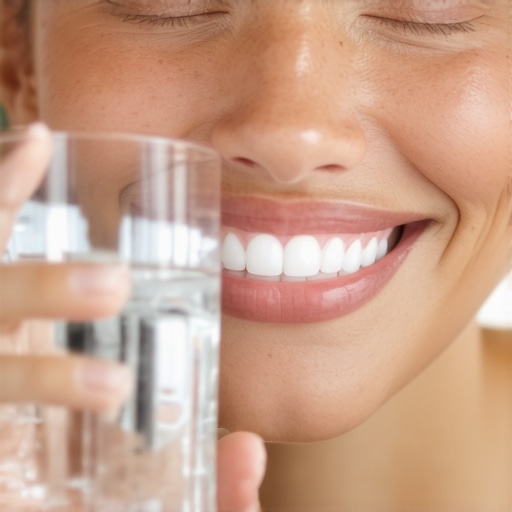
I’ll never forget the first time I walked out of a high-end clinic after a professional whitening session. I looked in the mirror and felt like a Hollywood star; my smile was practically luminous. But then, about two hours later, it happened. A sharp, electric ‘zap’ shot through my front tooth, followed by another in my molar. It felt like my nerves were trying to stage a coup. If you’ve ever explored professional whitening options in 2025, you know exactly what I’m talking about: the dreaded zingers. Today, I’m going to share how I learned to manage that post-bleach lightning so you don’t have to suffer in silence while trying to show off your new look.
Stop the Lightning Bolts from Ruining Your New Look
In my early days of chasing a brighter smile, I made a massive mistake that I still cringe thinking about. I thought I could ‘numb’ the pain by sipping on ice-cold water. Big mistake. Huge. My teeth were so porous from the peroxide treatment that the cold felt like a direct hit from a cattle prod. I’ve since learned that the best secrets for a sparkling smile aren’t just about the bleach itself, but about how you prep your enamel for the recovery phase. These zingers happen because the whitening agent temporarily dehydrates the tooth and opens up the microscopic tubules, exposing your nerves to the world. It’s a visceral, jarring sensation, but it’s also entirely manageable if you know the right tricks.
Is the blinding white glow actually worth the hype?
You might be sitting there, clutching your jaw and wondering if you’ve permanently damaged your pearly whites. The short answer is no, but the discomfort is very real. According to the American Dental Association, tooth sensitivity is the most common side effect of peroxide-based bleaching, affecting a significant portion of patients. However, this doesn’t mean you have to choose between yellow teeth or constant pain. Whether you are recovering from a session or perhaps dealing with whitening results that didn’t meet expectations, there is a way to soothe the nerves. Have you ever experienced that sudden, sharp zap after a treatment and felt like you were the only one suffering? You aren’t alone, and you don’t have to just ‘tough it out.’ Let’s dive into the immediate steps you can take to calm those nerves down right now.
Coat Your Teeth Like You’re Painting a Wall
To stop the electric shocks, you need to block the pathways to your nerves. Think of your teeth as having thousands of tiny, open windows after a bleach session. To shut them, you don’t just brush with desensitizing toothpaste; you apply it as a mask. I learned this the hard way after a session that left me twitching every time I breathed in cool air. I took a pea-sized amount of toothpaste containing potassium nitrate and smeared it directly onto my front teeth with a cotton swab. I let it sit there for ten minutes without rinsing. This creates a chemical barrier that calms the nerve excitability. If you’ve followed top teeth whitening strategies today, this ‘masking’ technique is the essential second half of the process. Potassium nitrate works like a dimmer switch for your dental nerves, slowly lowering the intensity of the signals they send to your brain.
Why Room Temperature Is Your New Best Friend
For the first 48 hours, your enamel is essentially ‘thirsty’ and porous. This is the danger zone. I once made the mistake of trying to eat a bowl of hot ramen followed by a cold soda right after a treatment. It felt like my mouth was being hit by lightning. To avoid this, stick to the ‘lukewarm rule.’ Everything you consume should be room temperature. This isn’t just about pain; it’s about protecting the work you’ve done. Since your teeth are porous, they will also soak up stains like a sponge. While some people swear by oil pulling for whiter teeth and healthy gums as a natural maintenance tool, the immediate aftermath of professional bleaching requires total neutrality. Stick to water and white foods—think pasta, chicken, and cauliflower—to ensure those tubules don’t absorb coffee or wine pigments while they are wide open. 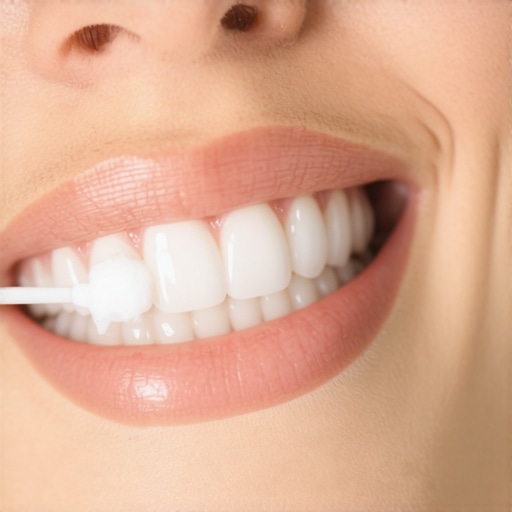
Soothe Your Gums While the Nerves Calm Down
It is very common for the whitening gel to migrate slightly, causing a chemical burn on the soft tissue. If your gums look white or feel like they are stinging, you need to act fast. In my early twenties, I overfilled a tray and ended up with a literal line of white, burnt tissue along my canine. I panicked, but a simple saltwater rinse—one teaspoon of salt in eight ounces of warm water—reduced the inflammation almost instantly. If you need to know how to treat a burn on your gums from whitening gel effectively, vitamin E oil is another lifesaver. You can puncture a small capsule and rub the oil directly on the irritated spot to speed up healing.
Timing Your Next Session for Minimal Sensitivity
If you are doing at-home touch-ups, when you do them matters just as much as what you use. I used to whiten in the morning, which meant my ‘open’ teeth were exposed to the elements all day long. Now, I only whiten right before bed. This is the best time of day to whiten your teeth for maximum results because it allows your teeth to rehydrate and the tubules to close while you sleep, shielded from food, drink, and cold air. This six-to-eight-hour rest period is the most effective way to wake up with a bright smile and zero zingers.While mastering the post-whitening ‘zap’ is a huge win, I see way too many people fall into a much deeper trap: assuming that more bleach is always the answer. Sometimes, your teeth aren’t actually yellow—they are gray. If you’ve noticed why your teeth look gray instead of yellow and how to fix it, you likely know that this is often an internal issue, like tetracycline staining or old trauma, which no amount of peroxide can solve. In fact, over-bleaching internally gray teeth often leads to a ‘translucent’ look that makes the smile appear even darker because the light passes right through the thinned enamel.
Can you actually whiten a tooth that has internal discoloration?
Generally, the answer is no for standard surface treatments. Research published in the Journal of Endodontics indicates that internal bleaching or restorative options like veneers are often the only permanent fixes for deep-seated stains. This brings us to a major nuance: once you transition to restorative work, your maintenance routine has to flip 180 degrees. Most people think veneers are a ‘set and forget’ solution, but if you don’t adjust, you’ll end up with a smile that looks aged within just a few seasons.
Stop Treating Your Porcelain Like It Is Invincible
The single biggest mistake I see—the ‘oops’ factor that ruins beautiful work—is the use of abrasive ‘whitening’ toothpastes on porcelain surfaces. You absolutely must stop brushing your veneers like they are real teeth. Real enamel is hard, but the polished glaze on a veneer is a delicate ceramic. If you use a high-RDA (Relative Dentin Abrasivity) toothpaste, you are essentially taking sandpaper to a glass window. Over time, those microscopic scratches trap bacteria and stains, which is a primary reason why your porcelain veneers look dull after five years of wear. You aren’t losing the color; you’re losing the light reflection. 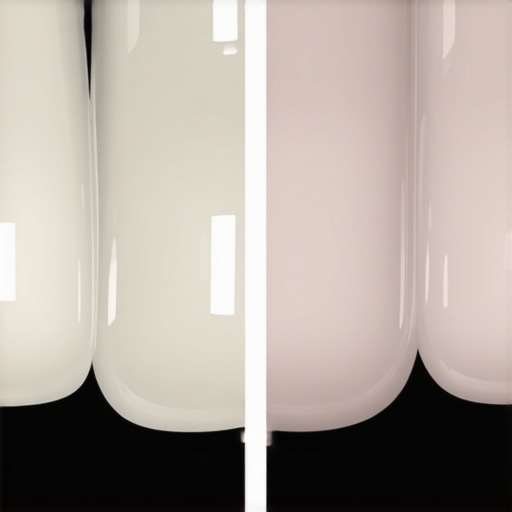
The Hidden Danger of the Charcoal Trend
Another common myth is that ‘natural’ means ‘safe.’ I’ve had friends swear by charcoal pastes, but the truth about the charcoal whitening trend and your enamel is that it is far too aggressive for both natural teeth and restorations. It acts as a heavy-duty abrasive that can lead to permanent sensitivity and the loss of your veneer’s luster. If you want to transform your smile with veneers expert tips, stick to a non-abrasive gel cleanser. Have you ever fallen into this trap and noticed your dental work losing its shine? Let me know in the comments.I have spent a small fortune on my teeth, and I refuse to let a five-dollar tube of drugstore paste ruin the investment. To keep the high-gloss polish on my porcelain, I have switched entirely to the Philips Sonicare ProtectiveClean 6100. I do not use it just for the brand name; I use it because it features a built-in pressure sensor that pulses the moment I press too hard against my gums. If you are wondering how to tell if your gum recession is caused by over-brushing, this tool is the ultimate preventive measure. It takes the guesswork out of your morning routine and protects the delicate margins where your veneer meets your natural tooth. According to the ISO 11609 standard, which outlines the requirements for toothpaste abrasivity, any product with an RDA (Relative Dentin Abrasivity) value over 250 is potentially harmful, but for my veneers, I never use anything with an RDA higher than 70.
How do I maintain my dental work over the long haul?
Consistency is the unsexy truth of dental longevity. For those of you currently in the middle of Invisalign secrets for achieving a perfect smile discreetly, please stop using your manual toothbrush to scrub your trays. Brushes create microscopic scratches that act as magnets for bacteria and odors. I personally use an iSonic ultrasonic cleaner every morning. It is the most effective way to get rid of the plastic aftertaste from new Invisalign trays while keeping them completely invisible. When you are out at a restaurant, remember the best way to store your clear aligners when you aren’t wearing them is in a dedicated, ventilated case—never a napkin, which is the number one way trays end up in the trash. 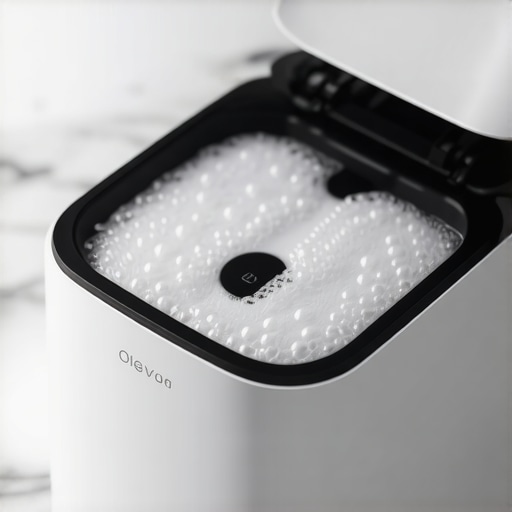
Why Your Next Checkup Might Look Like a Sci-Fi Movie
The future of family dentistry building healthy smiles for every generation is moving rapidly toward total digitization. I am already seeing Culpeper dentists swapping traditional x-rays for 3D scans that provide a literal map of your mouth. These iTero scans are far more than just pretty pictures; they allow providers to track tooth wear over decades with sub-millimeter precision. I predict that within five years, we will all have AI-integrated apps on our phones that analyze our weekly “smile selfies” to flag early signs of enamel erosion or gum inflammation before they require a drill. This proactive approach is essential for ensuring family dental care remains affordable and painless. Whether you are currently weighing the pros and cons of veneers vs crowns which is right for your smile or just trying to keep your natural teeth healthy, these digital tools are the new standard. If you want to see exactly where your technique is lacking, try the “Purple Test” tonight: buy a pack of plaque disclosing tablets. They will turn any missed spots bright purple, showing you exactly where you need to focus your brush to prevent future cavities.
What I Finally Realized After Years of Professional Whitening
In my decade-long quest for the perfect smile, the most profound ‘lightbulb moment’ was realizing that more bleach doesn’t always equal a better result. I used to think that if my teeth weren’t glowing in the dark, I wasn’t doing enough. However, I eventually learned that over-bleaching leads to a ghostly translucency that actually makes teeth look older. If you are struggling with stubborn discoloration, it is worth looking into the best way to whiten teeth that have been stained by tetracycline, because the standard peroxide approach often fails on internal graying. Another realization was that dental health is a family affair; the habits I formed while obsessing over my own smile eventually became the foundation for family dentistry tips for kids that I now share with everyone I know. Healthy enamel is the canvas; whitening is just the paint.
My Secret Arsenal for Maintaining That High-Gloss Finish
To keep my investment looking sharp, I’ve narrowed my routine down to three non-negotiable tools. First, I use an ultrasonic cleaner for any removable appliances—it is the only way to prevent that cloudy buildup. Second, I’ve replaced my high-abrasive ‘whitening’ pastes with hydroxyapatite formulas that actually ‘fill in’ the microscopic pores in my enamel. Third, I rely on a dedicated pH-balanced mouthwash to neutralize acids immediately after coffee or wine. These small shifts are why my smile remains vibrant years after my last major treatment. If you are just starting your journey, learning how veneers made simple can change your look might be the first step in building your own custom toolkit.
Step Into Your Most Confident Era
A radiant smile is more than just a cosmetic upgrade; it is a boost to your daily interactions and self-esteem. Whether you are navigating the nuances of ensuring family dental care for your household or pursuing a personal transformation, the key is to stay proactive rather than reactive. Don’t wait for a ‘zinger’ or a dull spot to appear before you start caring for your enamel. When you are ready to take that next professional step, you can always contact us to schedule a visit and get a personalized plan. Your future self—and your dazzling smile—will thank you for the extra effort you put in today. Have you ever tried a ‘natural’ whitening remedy that actually worked, or did it end up causing more sensitivity? Let me know in the comments below!