The Best Way to Whiten Your Teeth If You Have Naturally Thin Enamel
I’ll never forget the ‘Zinger Incident’ of 2018. I had just finished applying a high-dose whitening strip—the kind that promises a snow-white smile in three days—and within minutes, it felt like an electric current was dancing across my gums. My teeth weren’t just sensitive; they were screaming. Having naturally thin enamel means your teeth are a bit more translucent and, unfortunately, a lot more reactive. I made the mistake of thinking I could just power through the discomfort, but I ended up with weeks of pain where I couldn’t even drink room-temperature water.
Stop Using Over-the-Counter Bleach Like It Is Candy
If you are like me, you have probably spent a fortune on those drug-store kits, only to realize that your teeth feel weaker afterward. When you have thin enamel, the dentin underneath—which is naturally more yellow—is closer to the surface. Most people try to scrub that yellow away, but you cannot scrub away your tooth’s anatomy. Early on, I fell for the DIY trend of using abrasive charcoal, which was a huge error that left my mouth feeling raw. You need to know the truth about charcoal toothpaste and your tooth enamel before you try it; it is often far too gritty for those of us with delicate surfaces. Today, I am going to show you how to navigate this without the zingers or the structural damage. We are going to talk about pH-balanced gels, desensitizing agents, and why the ‘low and slow’ approach is the only way to go for us thin-enameled folks. You do not have to choose between a dull smile and a painful one.
Will My Teeth Ever Be Pure White?
This is the question that kept me up at night. I worried that because my enamel was thin, I was destined for a permanently dingy smile. You might be skeptical, thinking that any whitening at all will just dissolve what little protection you have left. It is a valid fear! I used to wonder if my tooth sensitivity was a cavity or just whitening side effects, and that confusion kept me from trying safer methods for years. One thing I have learned is that understanding why your teeth feel sensitive to sugar but not to cold can often be a clue about your enamel’s health. According to the American Dental Association, even low concentrations of peroxide can cause significant pulp inflammation if your protective barrier is compromised. Have you ever had to stop a whitening treatment halfway through because the pain was just too much? Tell me I am not the only one who has sat there with an ice pack on their jaw! I eventually learned how to manage the zingers after a professional whitening session, but the real secret is preventing them by choosing the right delivery method.
Swap Your Toothpaste Long Before You Start
Think of whitening your teeth like running a marathon; you cannot just wake up and do it without conditioning your body first. For us with thin enamel, the preparation phase is non-negotiable. At least two weeks before you even touch a whitening gel, you need to switch to a high-quality desensitizing toothpaste containing potassium nitrate. This ingredient works like a microscopic shield, calming the nerves inside your teeth so they do not overreact to the peroxide later. I used to rush into whitening, but I eventually realized that understanding why your teeth feel sensitive to sugar but not to cold can help you identify if your nerves are already on high alert. If they are, give yourself an extra week of desensitizing.
Slow Down the Whitening Process for Better Results
The biggest mistake is thinking that a higher percentage of peroxide equals a better result. In reality, for thin enamel, high concentrations are like using a pressure washer on a delicate stained-glass window. You want to look for carbamide peroxide in the 10% to 15% range rather than high-dose hydrogen peroxide. Carbamide peroxide breaks down more slowly, providing a steadier, gentler release of whitening power that is far less likely to trigger those lightning-bolt pains. You must also be careful if you have previous dental work; I learned the hard way about the mistake of using whitening strips on dental bonding, which resulted in a mismatched, patchy look that took months to fix.
Protect Your Gums from Chemical Burns
When you have thin enamel, your entire mouth environment is usually more sensitive. Standard whitening strips often overlap onto the gum tissue, which can cause painful recession or white chemical burns. The first time I tried a custom tray, I was terrified. I had been using those standard strips that slipped and slid, resulting in a localized chemical burn that turned a patch of my gum white. I ended up having to learn how to treat a burn on your gums from whitening gel because of my impatience. Custom-fitted trays from a dentist are the gold standard because they keep the gel on the tooth and off the soft tissue. 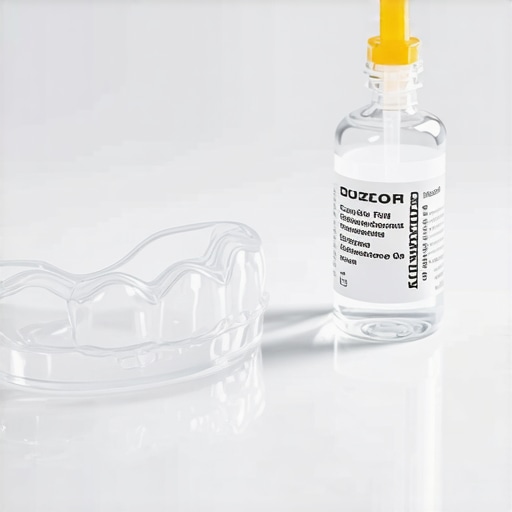
Manage the Time and Frequency with the Low and Slow Method
Forget the ’30 minutes twice a day’ instructions on the box. For sensitive, thin enamel, I recommend the ‘Low and Slow’ method: wear your gel for only 15 to 20 minutes every other day. This gives your teeth time to rehydrate and the nerves time to settle between sessions. If you notice your teeth starting to look translucent or blueish at the edges, stop immediately. This is often the real reason your teeth look gray instead of yellow—you are seeing through the thinned enamel to the dark space of your mouth.
Rehydrate the Enamel Immediately After
After you remove your whitening trays, your enamel is temporarily more porous. This is the perfect time to feed it minerals. Use a fluoride rinse or a remineralizing gel containing calcium phosphate. This helps ‘plug’ the pores that the whitening process opened up. It is that same feeling you get after a cleaning where your teeth feel weirdly smooth after a professional cleaning, but this time you are actively reinforcing the barrier you just worked on.Beyond the zingers, there is a nuance most influencers won’t tell you: you can actually whiten your teeth into looking worse. Most people believe that the more you whiten, the brighter you get, but this is a dangerous myth. For those of us with thinner-than-average enamel, there is a ‘saturation point.’ If you push past it, you aren’t just removing stains; you are making the enamel more transparent. This is the real reason your teeth look gray instead of yellow—the dark oral cavity is literally showing through your now-clear tooth structure. It is an optical illusion that makes your smile look dim even though you have blasted it with peroxide. I always recommend checking the ultimate guide to teeth whitening options in 2025 to see which professional systems actually account for this refractive change before you start. The ‘Oops’ factor often happens when patients try to mask thin enamel with high-intensity strips, not realizing they are exacerbating the transparency. If you have existing dental work, you also have to worry about the mistake of using whitening strips on dental bonding, which will stay the same color while your natural tooth changes, creating a patchy, mismatched mess.
Can I Whiten My Way Out of Deep Tetracycline Stains?
If your discoloration is internal—like from childhood antibiotics—topical whitening is often a losing battle. Expert research from the American Academy of Cosmetic Dentistry indicates that internal staining is deep within the dentin and requires professional-grade management or restorative layers to truly mask. You might be tempted to jump straight to porcelain, but you must know why your veneers look fake and how to avoid it before you sit in the chair. Sometimes labs over-opaque the ceramic to hide those internal stains, resulting in teeth that look like thick, flat blocks rather than natural, translucent pearls. 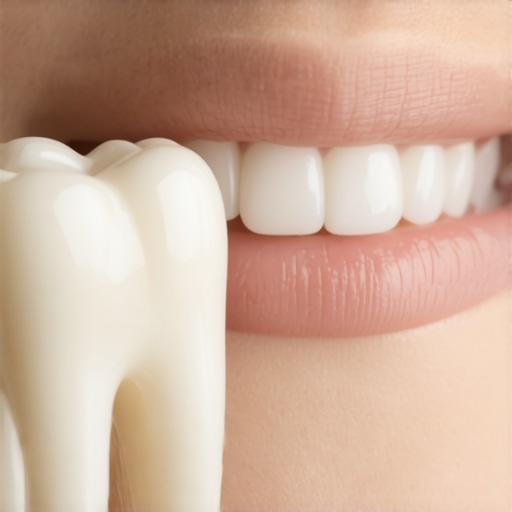 Have you ever fallen into this trap of over-whitening until your teeth looked a bit ‘ghostly’? Let me know in the comments.Once you have reached that sweet spot of a brighter smile without the translucency, the real work begins. It is not about more chemicals; it is about preservation. I used to think I had to re-whiten every month, but that is a fast track to permanent damage. Instead, I learned that maintenance is about managing the ‘re-staining’ process. If you are a coffee lover like me, you don’t have to give it up, but you do need to know how to keep your coffee habit without ruining your new veneers or your natural enamel. I started using a high-quality glass straw for anything dark, and it was a total game-changer for my bottom teeth, which always seemed to yellow faster.
Stop the Fade Before It Starts
The most important thing I did was look up the RDA (Relative Dentin Abrasivity) values of my daily toothpaste. Many ‘whitening’ toothpastes are basically sandpaper in a tube. If you have thin enamel, you need an RDA under 70. According to the Clinical Research Foundation, using highly abrasive pastes on already thinned enamel can lead to a 50% increase in dentin exposure over just a few years. If you notice why your gums are receding despite brushing twice a day, your toothpaste might be the culprit. I switched to a nano-hydroxyapatite paste, which actually helps ‘refill’ those microscopic pathways that peroxide opens up.
How do I maintain my whitening results over time?
Maintenance is a mix of timing and the right tools. I swear by a 48-hour ‘white diet’ immediately after any touch-up session—nothing but white rice, chicken, and water. It sounds extreme, but your enamel is like a sponge during those first two days. I also schedule regular professional cleanings because the real cost of skipping your six-month cleaning is more than just plaque; it is the buildup of surface stains that no amount of home scrubbing can fix safely. For those who have dealt with internal issues, searching for the best way to whiten teeth that have been stained by tetracycline will show you that maintenance for deep stains often requires a more bespoke dental plan than just over-the-counter fixes. 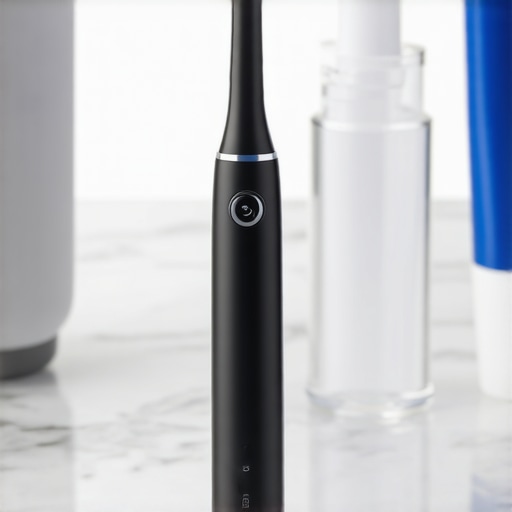
The Precision Tools That Saved My Enamel
I finally invested in a high-end electric toothbrush with a pressure sensor. I used to be a ‘scrubber,’ which is the worst thing you can do for thin enamel. If you find why your gums bleed only when you use an electric toothbrush, it is likely because you are pushing too hard, not because of the brush itself. The sensor flashes red when I overdo it, protecting my remaining enamel from mechanical wear. Looking ahead, I suspect we will see bio-regenerative gels that don’t just whiten but actually grow back a synthetic enamel layer. Until then, my best advice is to be Boring with a capital B: use a soft brush, a low-RDA paste, and a straw. My challenge to you: find the RDA value of your current toothpaste today. If it is over 100, toss it! It is the single easiest way to stop the ‘slow yellowing’ of your smile.
The Hard Lessons I Learned While Chasing a Brighter Smile
After years of trial and error, I realized that chasing a ‘paper-white’ shade is a losing game when your enamel is naturally thin. The biggest lightbulb moment for me was discovering that transparency is the enemy of brightness. If you bleach too much, you lose the light-reflecting quality of your teeth. If you’re curious about natural color variations and why some teeth never look stark white, it is helpful to learn why your child’s permanent teeth look yellow compared to their baby teeth; this often comes down to the density of the dentin, which is exactly what we are dealing with as adults with thin enamel. I also spent way too long trying to figure out how to tell if that shadow on your tooth is a cavity or a stain, only to realize that over-whitening was making my teeth so translucent that the darkness of my mouth was showing through them.
The Simple Kit That Keeps My Enamel Strong
I have narrowed my routine down to three non-negotiables that I trust completely. First, I only use products that have been vetted for safety in the current year. I frequently check these teeth whitening secrets for a sparkling smile in 2025 to make sure I am not falling for new, abrasive trends that could strip my remaining enamel. Second, I focus on stain prevention rather than removal. Using the secret to removing stubborn red wine stains without damaging enamel has saved me from needing high-intensity touch-ups. Finally, I keep a remineralizing gel in my fridge at all times to soothe any unexpected sensitivity immediately after a session.
#IMAGE_PLACE_HOLDER_E#
Give Your Smile the Gentle Care It Deserves
Your journey to a brighter smile doesn’t have to be a painful one. By prioritizing the health of your enamel over the speed of the results, you are ensuring that your teeth stay functional and beautiful for decades, not just for a few weeks. Remember that maintenance is far more effective than aggressive bleaching. Understanding the real reason your coffee stains keep coming back after a cleaning will empower you to change your habits rather than over-relying on chemicals. You have the power to transform your teeth whitening routine into a self-care ritual that actually strengthens your smile. Have you noticed your teeth looking more ‘see-through’ or translucent after you use whitening strips? Let me know your experience in the comments below!