Why your clear aligners have started to look cloudy
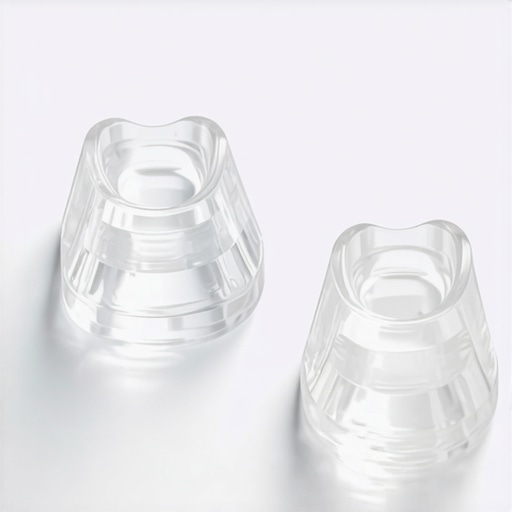
I’ll never forget the morning I stood in front of my bathroom mirror, ready to head out for a first date, only to realize my smile looked like it was trapped behind a thick morning mist. It wasn’t that my teeth were dirty—I had just brushed them—it was my “invisible” braces looking decidedly visible. They were cloudy, dull, and honestly, a bit gross. I felt like a total failure at this whole Invisalign journey before I even got past tray four. I tried to tell myself it was just the lighting, but deep down, I knew the crystal-clear plastic I started with had turned into something resembling a used Tupperware container.
[image_placeholder]
The Real Reason Your Invisible Braces Are Suddenly Foggy
I used to think that just rinsing them under some lukewarm water was enough to keep things fresh, but boy, was I wrong. That cloudiness you’re seeing? It’s usually a nasty cocktail of dried saliva, mineral buildup from your tap water, and—let’s be real—plaque that’s decided to move in and get comfortable. One of the biggest blunders I made early on was trying to scrub that fog away with my regular whitening toothpaste. I thought I was being smart, but the abrasive particles in the paste actually created millions of micro-scratches that made the cloudiness even worse by giving bacteria more places to hide. If you’ve noticed your aligner trays are starting to turn yellow or white and opaque, you aren’t alone, and it’s not just a cosmetic issue. Today, I’m going to show you exactly how to strip away that film and keep your trays crystal clear until the day you switch to the next set. This isn’t just about vanity; it’s about making sure your treatment stays on track and your breath stays fresh. Have you ever looked at your trays and wondered if you’ve permanently ruined them with a single cup of lukewarm coffee or a poorly timed snack?
Is it actually possible to keep these things clear for two weeks?
Most people start their treatment with high hopes, but by day ten, their trays look like they’ve been through a war zone. You might be skeptical that any amount of soaking will fix a tray that already looks like frosted glass. I certainly was. However, once you understand the chemistry of what’s happening, it’s actually quite simple to reverse. According to the American Association of Orthodontists, bacteria can begin to colonize any orthodontic appliance within hours, and without the right cleaning agents, that biofilm hardens into the cloudy mess we all hate. This becomes even more of an issue if you are struggling with the problem with wearing your aligners for only 18 hours a day, as the trays spend more time drying out in the air, which allows minerals to bake onto the plastic. My goal today is to walk you through the neighborly advice I wish someone had given me on day one: how to clean, what to avoid, and how to keep that new tray feeling for the full fourteen days.
Master the Deep Clean Without Damaging the Plastic
Keeping your trays clear is like maintaining a high-end camera lens; the moment you use the wrong tool, you’ve permanently compromised the view. To get rid of that stubborn fog, you need to transition from just rinsing to a dedicated soaking routine. I recommend a 50/50 mix of lukewarm water and white distilled vinegar. Avoid hot water at all costs, as it can warp the medical-grade plastic, turning your custom-fit aligner into a useless piece of junk. If you’ve noticed a funky smell lately, you’re likely dealing with the hidden reason your clear aligners have a persistent odor: bacteria trapped in the porous surface of the tray. A fifteen-minute daily soak breaks down the calcium deposits that create that cloudy appearance without the need for harsh chemicals.
The Right Way to Brush Your Aligner
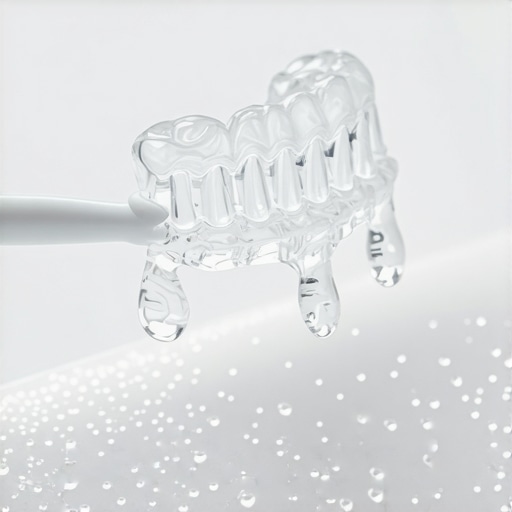
When you take your trays out of the soak, your instinct will be to grab your toothbrush and go to town. Stop right there. Using the same brush you use for your teeth—especially if it has medium or hard bristles—is a recipe for disaster. I learned this the hard way during my second month of treatment. I thought I was being thorough by scrubbing vigorously with my electric toothbrush, but I ended up creating a frosted glass effect that made my teeth look grey. Now, I use a dedicated soft-bristled brush specifically for my trays. Instead of toothpaste, use a drop of clear, unscented liquid dish soap. It’s designed to cut through grease and biofilm without the abrasive silica found in teeth whitening pastes that cause micro-scratches.
How to Handle Stubborn Stains and Gunk
Sometimes a simple soak isn’t enough, especially if you accidentally sipped some tea or ate something with heavy spices. If you find yourself needing to know how to remove turmeric stains from clear aligners without scratching them, a gentle paste of baking soda and water can act as a mild buffer. This is very similar to how to clean the stubborn gunk out of your night guard, where the goal is to lift the debris without etching the material. I’ll never forget the time I tried to use a minty green mouthwash to ‘freshen up’ my trays while I showered. I came out to find my aligners had absorbed the dye, leaving me with a neon-green smile that looked more like a Halloween costume than a professional dental treatment. Always stick to clear solutions.
Stay Clear Even When You Are On the Move
The biggest threat to tray clarity isn’t what happens at home; it’s what happens when you’re busy. When you’re at a social event, the trick to eating with clear aligners when you are at a restaurant is to always carry a small travel kit with a case and a spray bottle of water. Never, ever wrap your trays in a napkin. Not only is that a one-way ticket to the trash can, but the dry paper fibers can actually stick to the moist plaque on the trays, making them look even cloudier when you put them back in. If you can’t brush your teeth immediately after a meal, at least rinse your mouth vigorously with water to lower the acidity before snapping the trays back on. This simple habit prevents the ‘baking’ effect where sugars and acids are trapped against the plastic, which is often why your aligner trays are starting to turn yellow no matter how much you soak them later that night.
Once you’ve mastered the art of keeping your aligners clear, it’s tempting to jump straight into cosmetic upgrades. However, this is where most people hit a wall. I’ve seen countless patients rush into at-home treatments only to realize the mistake of using whitening strips on dental bonding creates a permanent two-tone smile. Unlike natural enamel, resin and porcelain do not change color with peroxide. This ‘Oops’ factor is the most common reason for emergency visits in family dentistry building healthy smiles for every generation. You end up needing to replace perfectly good dental work just to match your new tooth shade. 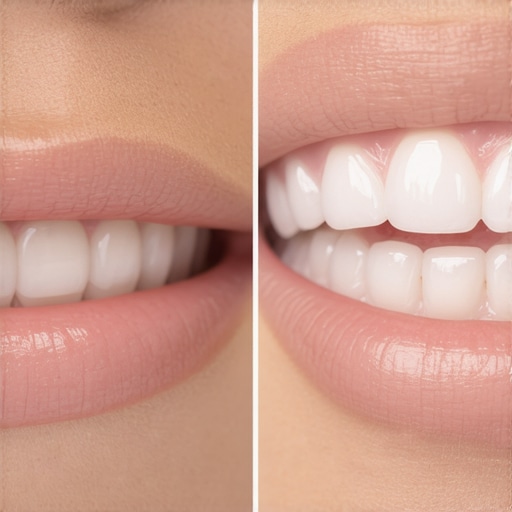
Why More Bleach Is Not Always the Answer
The common belief is that the stronger the gel, the whiter the teeth. In reality, a study published in the Journal of the American Dental Association (JADA) confirms that high concentrations of carbamide peroxide often lead to rapid dehydration of the tooth rather than actual pigment change. This creates a false ‘bright’ look that fades in forty-eight hours, which is exactly why your professional whitening didn’t work as well as last time. Worse, it triggers extreme sensitivity. If you’ve ever felt those sharp, electric jolts, you need to know how to manage the zingers after a professional whitening session to avoid permanent pulp inflammation. Patience actually yields a more stable, long-lasting shade.
Why do my teeth look gray instead of bright white?
Advanced readers often notice that their results look ‘off’ despite following the rules. This happens because teeth aren’t just one color; they have translucency. If you over-whiten, you can strip away the internal depth, making the teeth look grayish or translucent at the edges. This is a nuance often missed by DIY kits. Similarly, if you have restorations, you might notice why your veneers feel like they are catching on your tongue—it’s often a sign of micro-leakage or ‘flash’ at the bonding site. Maintaining the health of the surrounding tissue is vital, as neglect is frequently the reason your porcelain veneers feel gritty to your tongue over time. True expertise lies in knowing when to stop, not just how to start. Have you ever fallen into this trap? Let me know in the comments.
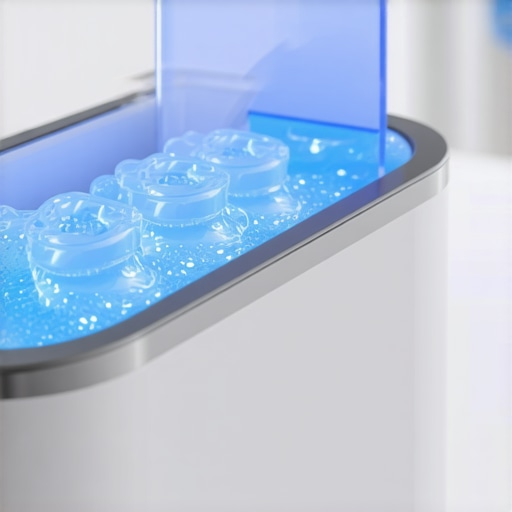
Moving from the active ‘fixing’ phase to the ‘maintenance’ phase is where most people lose their momentum. I remember the day I finished my final tray; I felt like a marathon runner crossing the finish line, only to realize I actually had to keep walking forever to stay in shape. The real secret to keeping that investment sharp isn’t just luck; it’s about the tools you use when the dentist isn’t looking. For me, the game-changer was investing in a high-frequency ultrasonic cleaner. Instead of manually scrubbing my retainers and risking those micro-scratches we talked about, I drop them into the pod with a Retainer Brite tablet. It uses cavitation bubbles to implode against the debris, reaching the microscopic crevices a brush simply can’t touch. This is also the best way to clean your night guard so it doesnt smell, ensuring that you aren’t putting a bacteria-factory back into your mouth every evening.
Ditch the Manual Scrub and Let Sound Waves Do the Work
I personally use the iSonic F3900, but any reputable 42,000Hz cleaner will do the trick. If you’re still using a toothbrush on your final retainers, you’re essentially sanding down the clarity of the plastic every single day. Over time, this leads to a dull, matte finish that makes your teeth look aged. Transitioning to an ultrasonic routine ensures your hardware remains as invisible as the day it was printed. This level of care is especially vital if you’ve transitioned into family dentistry building healthy smiles for every generation, where the goal is to set a standard for your kids. Showing them that dental tech is part of a daily ‘bio-hacking’ routine makes the process feel modern rather than like a chore.
Can my smile really stay this bright for ten years?
The short answer is yes, but it requires a shift in how you view ‘completion.’ A study published in the European Journal of Orthodontics highlights that physiological changes in the jaw continue well into our 40s and 50s, meaning your teeth are always on the move. To prevent a relapse, you need to understand how to stop your teeth from shifting after your braces come off permanently. It’s not just about wearing the plastic; it’s about the integrity of the plastic. I recommend replacing your clear retainers every six to twelve months because the material eventually loses its ‘spring’ and tension, allowing for subtle crowding to return. If you have porcelain work, the maintenance is even more specific. You have to learn how to keep your coffee habit without ruining your new veneers, which involves using a straw and immediate rinsing to protect the interface where the porcelain meets your natural tooth.
AI and 3D Scanning are Reshaping Our Checkups
Looking ahead, I predict we are moving toward a ‘smart’ dental era. We are already seeing the rise of invisalign innovation invisible braces changing smiles in 2025 that utilize AI-driven apps to scan your teeth from home, alerting your doctor if a tooth isn’t tracking or if a veneer shows signs of stress before it actually chips. This proactive technology will eventually make ’emergency’ visits a thing of the past. For now, my best advice is to treat your smile like a luxury vehicle. You wouldn’t skip the oil change on a Ferrari, so don’t skip the professional polish on your veneers. If you want to see an immediate difference in your routine tonight, try the ‘rinse-first’ rule: never let a dark liquid sit on your dental work for more than sixty seconds. Go grab a dedicated ultrasonic pod today and see how much clearer your trays stay after just one week.
Lessons Learned from the Bottom of a Retainer Case
One thing I wish I’d known earlier is that why your teeth look gray instead of yellow and how to fix it isn’t always about more bleach; it’s often about the health of your enamel. I spent months thinking my aligners were dirty when in reality, I had over-processed my natural teeth. Another lightbulb moment was realizing that top teeth whitening strategies today focus just as much on post-treatment care as the gel itself. If you ignore the ‘zingers,’ you’re asking for trouble. Lastly, never underestimate the power of a simple water rinse; it’s the difference between a tray that stays clear and one that looks like it’s been through a dust storm.
#IMAGE_PLACEHOLDER_E#
The Gear That Actually Saved My Teeth
I’ve tried every gadget under the sun, but three things remain non-negotiable in my kit. First, a high-quality ultrasonic cleaner is the only way to truly handle biofilm without scratching the plastic. Second, if you are looking into teeth whitening options in 2025, always keep a desensitizing gel on hand—trust me, your nerves will thank you. Finally, I highly recommend reading up on expert tips for veneers if you’ve gone the cosmetic route, as maintaining that bond is a specific skill set. These tools aren’t just ‘extras’; they are the insurance policy for your dental investment.
Your Smile is a Living Investment
At the end of the day, your dental journey doesn’t end when the last tray is tossed or the last veneer is bonded. It’s a lifelong commitment to family dentistry building healthy smiles for every generation. Whether you are navigating the complexities of Invisalign secrets or just trying to keep your morning coffee from leaving a mark, remember that consistency beats intensity every time. You’ve worked hard for that smile—now let’s keep it shining. Have you ever struggled with persistent cloudiness in your trays even after a deep soak? Let me know in the comments below!