How to stop your dental implant from trapping food against your cheek
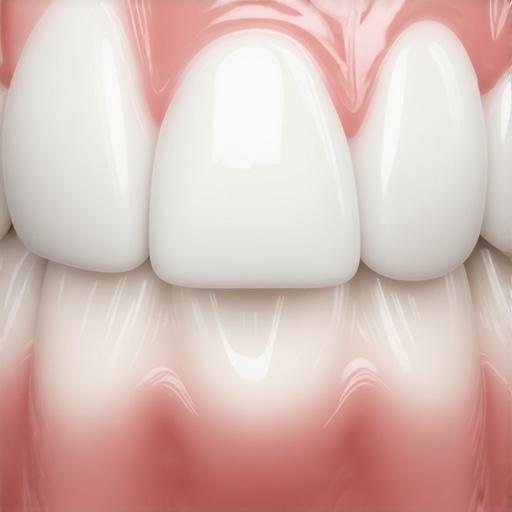
I was sitting at a fancy anniversary dinner, mid-laugh, when I felt it. A tiny shred of spinach had decided to take up permanent residence in the gap between my new dental implant and my cheek. I spent the next twenty minutes doing that awkward, tight-lipped facial contortion we all know too well, desperately trying to dislodge it with my tongue. It wasn’t just annoying; it was a blow to my confidence. I’d spent so much time looking into the truth about dental implants and worrying about airport security that I never stopped to think about the day-to-day mechanics of eating. If you are constantly fishing leftovers out of your mouth, I promise you aren’t alone. Today, I’m going to show you exactly how to close that gap and stop the food trap once and for all.
That Constant Stuck-Food Feeling Is Not Your Fault
When I first got my implant, I made a classic rookie mistake. I treated it exactly like my natural teeth, thinking that if I just brushed harder, the problem would go away. It didn’t. In fact, over-brushing is a real risk; you can actually cause hidden issues or gum irritation if you’re too aggressive. My personal blunder was trying to use a sharp wooden toothpick to dig out some steak, which left me with a sore, bleeding gum line for a week. The reality is that the “neck” of an implant is often narrower than the natural tooth root it replaced. This creates a little shelf or a pocket where food loves to hide. Have you ever felt like you’re carrying a snack for later right against your cheek? It’s a common struggle, and it usually comes down to the “emergence profile” of your crown.
Does This Mean My Implant Is Actually Failing?
This is the big fear, right? We worry that if food is getting stuck, something is loose. But here’s the good news: most of the time, the implant is perfectly fine. You can check how to tell if your dental implant is successfully healing to put your mind at ease. According to the American Academy of Implant Dentistry, dental implants have a success rate of up to 98%, yet food impaction remains one of the most common complaints among patients due to the prosthetic’s shape. It’s often a design issue, not a failure of the titanium post in your jaw. Even if it feels slightly heavier than your real teeth, that’s just part of the adjustment. If you’ve ever had to safely remove a piece of popcorn or a stubborn seed, you know the struggle is real. The trick is knowing how to manage the space without hurting yourself, and I’m ready to dive into the tools that actually work.
Grab the Right Tools for Those Narrow Gaps
You cannot fight a microscopic battle with macroscopic tools. If you are still using the same flat ribbon floss for your implant that you use for your natural molars, you are basically bringing a knife to a laser fight. Because the neck of an implant is thinner than a natural tooth root, you have a literal shelf where food debris collects. A water flosser is your best friend here. Think of it like a power washer for your mouth—it gets into those tight nooks where a string simply cannot reach. If you are dealing with sensitive areas during this process, you might want to look into the best way to whiten teeth with sensitive enamel to ensure your overall routine remains gentle on your tissues. 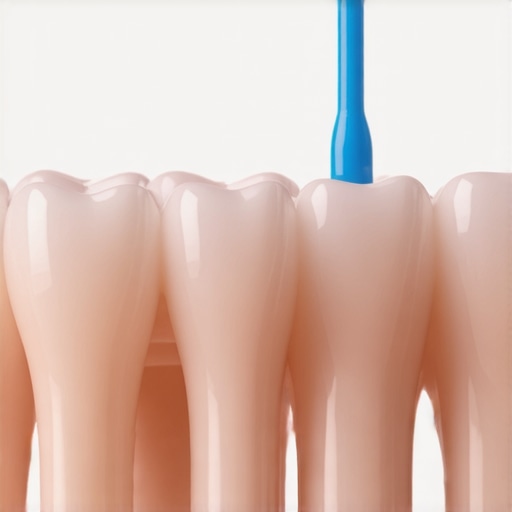
Switch to Specialized Interdental Brushes
These look like tiny pipe cleaners and are far more effective than wooden toothpicks. I started using a size-0 interdental brush, which is small enough to slide under the ‘shelf’ of the crown without poking my gums. If you notice a bit of pink when you do this, do not panic; it is often just the simple reason your gums bleed only when you floss one specific tooth—localized inflammation from the trapped food itself rather than a sign of implant failure.
The Wrap-Around Technique That Changed Everything
I once spent ten minutes wrestling with a piece of beef jerky in a restaurant bathroom, getting increasingly frustrated as the floss shredded. I finally learned that the standard ‘C-shape’ wrap is not enough for implants. You actually need to thread the floss through the gap and wrap it in a full circle around the implant post. It is a bit like polishing a shoe with a cloth. Using a stiff-ended floss threader makes this infinitely easier. This technique ensures you are cleaning the entire 360-degree surface of the abutment, which is where most food traps actually exist. If you have ever had to learn how to clean a dental bridge without getting floss stuck, you will find the physics here are very similar.
Be Gentle to Prevent Gum Recession
While you want to be thorough, scrubbing too hard can backfire. If you push too aggressively into the sulcus—the pocket where the gum meets the implant—you risk causing the tissue to pull away from the crown. I learned this the hard way when I noticed my implant looked slightly longer than the tooth next to it after a month of aggressive cleaning. It is vital to learn how to tell if your gum recession is caused by over-brushing before you do permanent aesthetic damage to your smile.
Ask Your Dentist for a Contact Point Check
If you are cleaning properly and food still wedges itself in there like it is being glued, the issue might be the ‘contact’—the specific point where your implant crown touches the neighboring tooth. If that contact is too light, food will slide right in regardless of how much you brush. This is a common issue when comparing veneers vs crowns and implants alike. Your dentist can often add a bit of porcelain to the side of the crown to tighten that gap. You should also verify how to tell if your dental crown needs to be replaced if the fit has shifted significantly over the years. A quick check-up can determine if a simple lab adjustment can save you a lifetime of awkward toothpicking after every meal.While we are on the subject of fixing your smile, there is a massive misconception that the whiter your teeth are, the healthier they look. In my experience, chasing that paper-white glow actually backfires. Most people assume that if a little peroxide is good, a lot is better. However, over-whitening can lead to translucency, which makes your teeth appear dark or ‘hollow’ because the light passes right through the thinned enamel. This is exactly why your teeth look gray instead of yellow after aggressive treatments. You need to find a balance between brightness and the natural depth of your tooth structure. 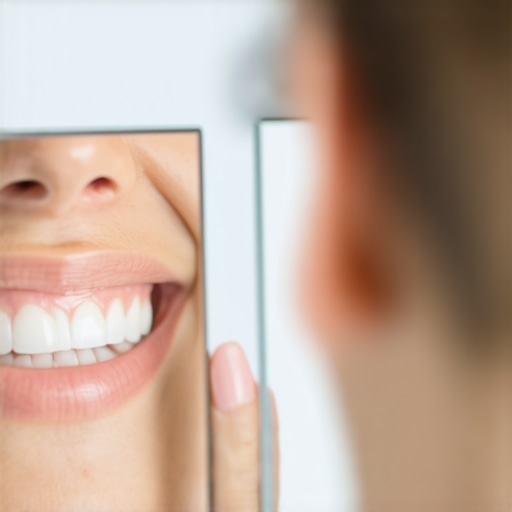
What should I do if my teeth feel loose during orthodontic treatment?
It is terrifying to feel a slight wiggle in your front teeth while wearing aligners, but it is actually a biological necessity. For teeth to move, the bone around the root must temporarily soften—a process called remodeling. However, a common ‘oops’ factor is neglecting the hygiene of the attachments themselves. If plaque builds up around those tiny bumps, you can end up with permanent ‘white spot’ lesions. A study published in the Journal of Orofacial Orthopedics highlights that biofilm management is the single biggest predictor of long-term aesthetic success during clear aligner therapy. If you aren’t careful, you might need to learn how to remove aligner attachments without damaging your enamel prematurely. Another trap involves the ‘set and forget’ mentality with veneers. I’ve seen people treat their porcelain like bulletproof armor, but it’s actually more like fine china. You must stop brushing your veneers like they are real teeth by ditching abrasive charcoal or whitening toothpastes. These can micro-scratch the surface of the porcelain, dulling the shine and making them more prone to staining over time. If you’ve ever noticed why your new veneers feel like they are pushing against your other teeth, it’s often due to minor inflammation that needs gentle care, not a heavy-handed scrub. Whether you are managing a dental implant gap or trying to maintain the perfect shade of white, the secret is always in the nuances of your daily routine. Have you ever fallen into the trap of over-whitening or being too aggressive with your new dental work? Let me know in the comments! If you are still in the planning stages, check out the veneers vs crowns comparison to see which long-term solution fits your lifestyle better.If you’re ready to graduate from the “just survive the meal” phase to the “maintenance pro” phase, you need to change your oral hygiene arsenal. I personally swear by the Waterpik Aquarius because the motor pulses in a way that literally shakes debris loose from the underside of the crown where your toothbrush bristles are simply too thick to fit. This is especially vital for the “shelf” created by an implant’s emergence profile. A study in the Journal of Clinical Dentistry highlights that water flossing is up to 50% more effective than manual string floss for reducing gingivitis and removing plaque around dental prosthetics. It’s the same logic for my friends with clear aligners who need to keep their trays from making you gag due to trapped bacteria. 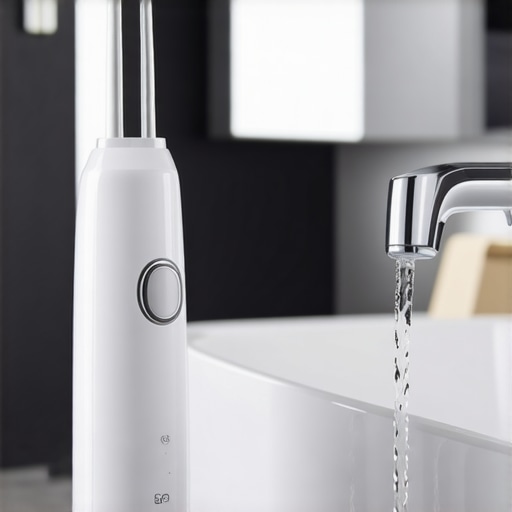
Ditch the Goo for Digital 3D Scans
Looking ahead, the way we handle ensuring family dental care is shifting toward complete digitalization. I remember the days of biting into that cold, purple goop for impressions—it was a sensory nightmare. Now, the trend is moving toward swapping traditional X-rays for 3D scans. This isn’t just about comfort; it’s about predictive precision. These scans allow your dentist to overlay images from different years to track your gum line to the millimeter. If they see a tiny fraction of recession, they can catch it before you ever notice your teeth looking longer. This level of Invisalign innovation is going to be the standard for every family check-up by 2030, making the process much more transparent for patients.
How can I make my dental work last a lifetime?
The real secret to longevity isn’t just about what happens at the dentist’s office; it’s about preventing the “micro-trauma” that occurs while you sleep. If you have invested in teeth whitening options or high-end veneers, you are essentially wearing high-performance porcelain that can still chip under the pressure of nighttime grinding. I had to learn how to properly clean a night guard because it became my most important insurance policy for my smile. Without that physical barrier, your investment can literally crack or shift over time. I want you to try this one specific trick: tonight, instead of just brushing, use your water flosser on the “massage” or low setting first to clear the hidden traps around your implant or veneers, then follow up with a high-fluoride, alcohol-free rinse. This specific sequence clears the debris and then coats the vulnerable edges with protection. It takes an extra sixty seconds, but it is the difference between a crown that lasts ten years and one that lasts thirty.
The Realities of Dental Maintenance I Wish Someone Shared Sooner
After years of navigating the world of restorative dentistry, I’ve realized that the “perfect” smile isn’t a destination—it’s a habit that requires a shift in perspective. First, the 360-degree floss wrap is non-negotiable; if you aren’t encircling that implant post entirely, you’re leaving a microscopic bacterial breeding ground that can lead to the real reason your breath smells bad even when you think you’re clean. Second, you must be your own advocate. If a gap feels too large, don’t just “live with it.” Mentioning it during a routine visit for family dentistry can lead to a simple porcelain adjustment that saves your gums from years of irritation. Finally, remember that even the most expensive dental work needs protection. I once thought that choosing to transform your smile with veneers meant I could stop worrying about the little things, but the truth is, the more you invest, the more you need to protect that investment from the silent friction of nighttime grinding.
The Three Items I Never Travel Without
I’ve refined my daily toolkit to just a few essentials that make the transition from a “food trap” nightmare to a clean, comfortable mouth much easier. I always carry a travel-sized cordless water flosser because it handles restaurant emergencies with far more grace than a wooden toothpick ever could. I also swear by size-appropriate interdental brushes, which are the only tools capable of reaching the narrow “neck” of an implant where traditional floss simply slips past. Lastly, I always keep a high-quality, non-abrasive paste in my kit. Following the advice in the ultimate guide to teeth whitening options taught me that keeping the surface smooth is the best way to prevent stains from taking hold in those hard-to-reach gaps.
Your Journey Toward a Worry-Free Smile
It takes a little time to get used to the new topography of your mouth, but once you master these small adjustments, you’ll stop thinking about your teeth and start focusing on your life again. Whether you are managing a single dental implant or a full set of cosmetic enhancements, you have the power to keep that smile radiant and functional for decades. You’ve already done the hard part by making the initial investment; now, simply give your dental implants the specialized care they deserve to stay healthy. Have you ever had a specific food item become your arch-nemesis since getting your dental work? Let me know your funniest “spinach story” in the comments below!