Why Your Lower Retainer Always Gets More Tartar Than the Top One
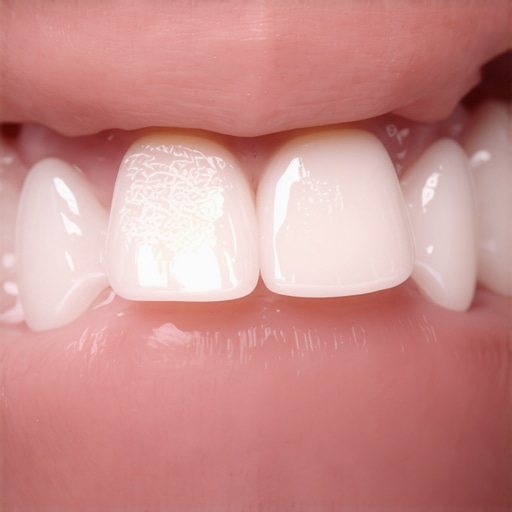
I remember the first time I popped out my lower retainer and really looked at it. There it was: a crusty, white, rocky buildup that looked like tiny barnacles clinging to a ship’s hull. I had just spent months using Invisalign to get my teeth into perfect alignment, only to feel like I was failing at basic hygiene. My top retainer was crystal clear, but the bottom one? It was a disaster zone. I scrubbed, I soaked, and I worried that I was somehow uniquely ‘gross.’ It was a visceral realization that brushing alone wasn’t winning the war against my own chemistry. Today, we are going to solve the mystery of the ‘bottom-only’ gunk and get your oral appliances back to their factory-reset shine.
Stop Wondering Why Your Bottom Retainer Is Always the Gross One
It feels like a personal insult when you’re doing everything right and your lower retainer still ends up looking like a calcified mess. But here is the thing: it’s not your fault, it’s your anatomy. Your mouth has major salivary glands—specifically the submandibular and sublingual glands—located right behind your lower front teeth. These glands are essentially mineral pumps. According to the American Dental Association, tartar can begin to form in as little as 24 hours when plaque is constantly bathed in these minerals. Because your lower retainer sits in that ‘mineral pool’ all night, it becomes the perfect anchor for calculus.
I made the huge mistake early on of thinking a quick rinse with water was enough. I even tried cleaning the stubborn gunk with a hard-bristled toothbrush. That was a disaster; it just scratched the plastic and gave the bacteria even more places to hide. If you don’t address it correctly, you end up with persistent odors that no amount of mouthwash can kill. I remember one morning in particular; I was rushing to get the kids ready, and as I popped my lower retainer in, I felt a sharp, rough edge. I had spent so much energy on family dentistry tips for my little ones that I’d completely missed the ‘science experiment’ growing in my own bathroom drawer. Have you ever felt that rough, sandpaper-like texture against your tongue and wondered if you’d ever have a clean mouth again? I’ve been there, and the fix is surprisingly simple once you understand the science of your saliva.
Is all that scrubbing actually worth the effort?
You might be tempted to just live with it, but that buildup is more than just a cosmetic issue. It’s a porous surface that traps bacteria, leading to gums that hurt or feel inflamed every time you put your retainer back in. I’ve seen people give up on their retainers entirely because they couldn’t get them clean, which leads to their teeth shifting back to where they started. Don’t let a little calcium ruin your progress. Whether you are maintaining your natural teeth or protecting new veneers, keeping that lower appliance clean is the only way to ensure your breath stays fresh and your gums stay healthy. Let’s look at why your clear aligners smell like old saliva and how to pivot your cleaning routine to actually work.
Turn Your Cloudy Retainer Back to Crystal Clear
Getting that factory-fresh transparency back isn’t about brute force; it’s about chemistry. When you see those white spots, you’re looking at calcium deposits that have hardened into a rock-like substance. To break these down, you need a solution that dissolves minerals without melting your plastic. I found that a 50/50 mix of white distilled vinegar and lukewarm water is a lifesaver. Soak your retainer for about 20 minutes. This mild acid softens the calculus, making it much easier to wipe away. If you’ve been dealing with why your aligner trays are starting to turn yellow, this acidic soak is a great first line of defense against both color and texture issues.
Swap Your Hard Toothbrush for Something Softer
I learned the hard way that ‘scrubbing’ is often the enemy of ‘cleaning.’ I used to use a medium-bristled brush, thinking I needed the extra power to get into the crevices. Instead, I just created micro-scratches that made my retainer look cloudy and gave bacteria a permanent home. Now, I only use a soft-bristled baby toothbrush. It is gentle enough to navigate the curves of a lower retainer without damaging the surface. If you are also trying to figure out how to remove turmeric stains from clear aligners without scratching them, remember that patience and the right cleaning agent beat aggressive scrubbing every single time.
Let a Machine Do the Hard Work for You
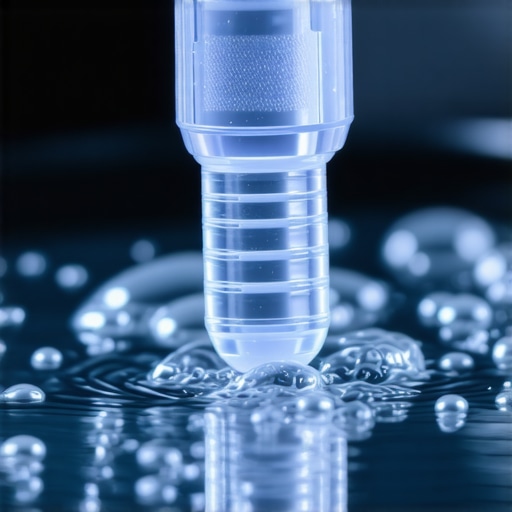
The real turning point for me was investing in a small ultrasonic cleaner. It’s a game-changer. These devices use high-frequency sound waves to create millions of tiny bubbles that implode against the surface of your retainer, knocking off gunk in places a toothbrush can’t reach. The first time I dropped my lower tray into one, I stood there mesmerized. Within seconds, a grey, wispy ‘cloud’ began drifting off the plastic. It looked like cigarette smoke underwater. That ‘smoke’ was actually the calcified plaque being vibrated into oblivion. I realized then that my manual scrubbing was like trying to clean a paved driveway with a toothbrush—I was working hard but achieving almost nothing. This is arguably the best way to clean your night guard so it doesnt smell, and it works wonders for retainers too.
Daily Habits That Stop the Gunk Before It Starts
The most effective cleaning strategy is prevention. Every time you take your retainer out, rinse it immediately. Don’t let the saliva dry on it! Once it dries, the minerals set like concrete. I keep a small container of water on my bathroom counter; if I’m not wearing it, it’s submerged. This keeps the biofilm soft and easy to rinse away later. If you’ve ever wondered about the best way to clean a mouthguard that has become slimy and gross, the principle is exactly the same: never let the ‘slime’ dry out. While you are focusing on the hardware, don’t forget the ‘software.’ Keeping your actual teeth clean is half the battle. If you’ve recently had professional work, you might be managing the zingers after a professional whitening session, but don’t let that sensitivity stop you from flossing behind those lower front teeth. That is exactly where the mineral-rich saliva originates, and keeping that area plaque-free means less buildup on your retainer.
While we are on the subject of those lower teeth, let’s talk about the elephant in the room: why they never seem to get as white as the top ones. You’ve likely seen the ads for high-percentage gels, but here is a secret most clinics won’t lead with: there is a ‘bleaching plateau.’ Pushing past it doesn’t make your teeth whiter; it makes them look like glass. When you over-bleach, you are actually stripping away the healthy opacity of your enamel. This is why some people end up with a ‘grey’ smile instead of a bright one. A study in the Journal of Evidence-Based Dental Practice highlights that once you reach your genetic maximum brightness, further chemical intervention only increases sensitivity without improving shade. If you are struggling with why your teeth look yellow in certain bathroom lighting even after treatment, you might have already hit that wall.
The Bleaching Plateau Most People Ignore
I’ve seen patients get frustrated and double their whitening time, thinking ‘more is better.’ This is the quickest way to end up with the zingers after a professional whitening session. The nuance here is that your bottom teeth have thinner enamel and more underlying dentin—which is naturally more yellow—than your top teeth. You aren’t failing at whitening; you are fighting physics. Instead of more bleach, focus on translucency. If your teeth start to look blue-grey at the edges, stop immediately. You are seeing the ‘back of your mouth’ through your thinned-out enamel.
Why does that one stubborn tooth refuse to change color?
If you have a single tooth that stays dark, it’s usually not a stain issue. It could be internal trauma or a ‘dead’ nerve. No amount of surface gel will fix that. In these cases, you might need to look into veneers made simple to match that tooth to the rest of your smile. Understanding these teeth whitening secrets saves you months of frustration and literal pain.
Don’t Waste Money Whitening Your Bonding
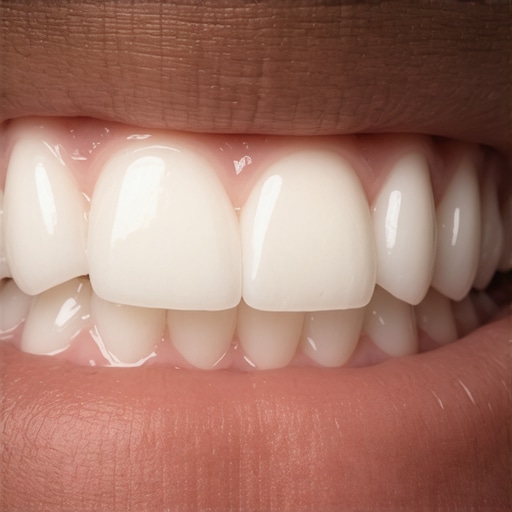
The biggest ‘oops’ I see in family dentistry is the attempt to whiten artificial materials. If you have a filling, a crown, or bonding on your front teeth, it will not change color. I’ve talked to so many people who spent a fortune on strips only to realize their natural teeth got whiter while their dental work stayed the same color, making the ‘spot’ even more obvious. This is the mistake of using whitening strips on dental bonding that can ruin your aesthetic goals overnight. If you are planning a major smile overhaul with Invisalign or expert veneer tips, you must whiten your natural teeth first, then match the hardware to that new shade. Have you ever fallen into this trap of trying to whiten something that wasn’t actually a tooth? Let me know in the comments. We are all learning this as we go!
Once you have moved past the initial learning curve of cleaning your hardware and navigating the whitening plateau, the focus shifts to preservation. I used to think that finishing my treatment meant I was ‘done,’ but real success in family dentistry is about the long-term play. For me, that meant moving beyond the basic drugstore kit and looking at professional-grade tools that actually fit into a busy lifestyle. I realized that if a tool isn’t convenient, I won’t use it, which is exactly how people end up wondering why their teeth shift years after their braces are gone.
How do I maintain my smile results over the long haul?
Consistency is the only thing that stands between you and a relapse. If you’ve invested in Invisalign, the biggest risk is the slow, silent movement of your teeth. I highly recommend using a tracking app like TrayMinder; it sounds nerdy, but seeing your ‘wear time’ data prevents you from slipping into the dangerous habit of only wearing your trays for 18 hours a day. The problem with wearing your aligners for only 18 hours a day is that the bone doesn’t have enough time to stabilize, leading to micro-shifts that add up over months. To keep everything in place, you need to treat your nighttime retainer like a sacred ritual. If you ever feel that slight tightness, it’s a sign you’re slipping. You might also want to look into the latest Invisalign innovation where invisible braces are changing smiles in 2025 with even more durable materials that resist staining better than the older generations.
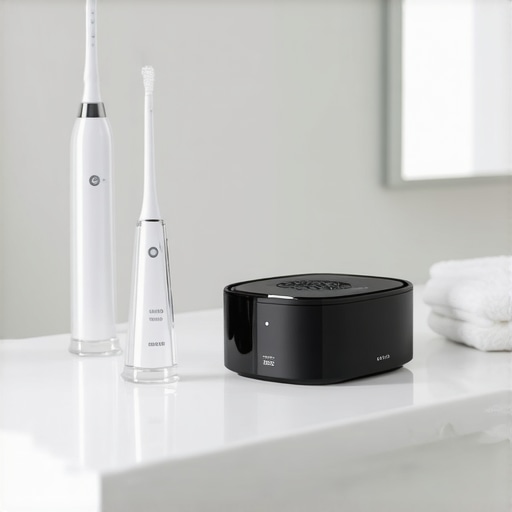
When it comes to keeping those surfaces bright, especially if you have veneers, you have to be tactical about your diet. I refused to give up my morning brew, so I learned how to keep your coffee habit without ruining your new veneers. The secret isn’t just rinsing with water; it’s using a straw for the first few sips and never ‘swishing’ the coffee around your mouth. If you have porcelain work, remember that the truth about using charcoal toothpaste on porcelain surfaces is that it’s far too abrasive. It can create microscopic scratches that actually attract more stains over time. Instead, I use a nano-hydroxyapatite toothpaste which helps remineralize the enamel and keeps the bond between the tooth and the veneer sealed tight.
The tech that actually stays in my bathroom cabinet
Beyond the ultrasonic cleaner I mentioned earlier, the one tool I will never stop recommending is a high-quality water flosser. It is a game-changer for anyone with a permanent lower retainer wire. Those wires are notorious ‘plaque traps’ that can lead to your gums bleeding only when you use an electric toothbrush because of the localized inflammation. A water flosser gets under the wire where manual floss often shreds. According to a study published in the Journal of Clinical Dentistry, water flossing is up to 50% more effective at reducing gingivitis than traditional string floss, particularly in orthodontic patients. It’s the difference between a ‘good enough’ cleaning and a professional-level result at home.
What the future of home dental care looks like
Looking ahead, I suspect we are moving toward a world where AI-driven home scans will be the norm. Imagine snapping a photo of your teeth with your phone and having an app detect ‘shadows’ before they become cavities. We are already seeing the beginning of this with tele-dentistry. This will make it much easier to tell if that shadow on your tooth is a cavity or a stain without needing an emergency appointment. The integration of technology into our daily hygiene will eventually make the ‘six-month cleaning’ feel like more of a check-in than a rescue mission. For now, my best advice is to upgrade your kit today: stop manual scrubbing and let an ultrasonic cleaner and a water flosser do the heavy lifting for you.
Lessons My Dentist Didn’t Mention Until I Asked
I’ve learned that the ‘mineral pool’ behind the lower front teeth is a biological reality you can’t out-brush. However, staying hydrated actually dilutes the concentration of calcium in your saliva, meaning less gunk on your hardware. Another hard truth is that teeth whitening isn’t a one-and-done fix; it is a long-term maintenance cycle. If you push too hard, you risk permanent sensitivity. I really wish I’d read up on the ultimate guide to teeth whitening options before I started my first at-home treatment. Finally, always verify your dental work before bleaching; I’ve seen people make the mistake of using whitening strips on dental bonding and end up with a mismatched smile that was incredibly expensive to correct.
The Tools That Saved My Smile
If you want to keep your results, you need the right gear. First, an ultrasonic cleaner is non-negotiable for anyone with invisalign or retainers because it removes biofilm that brushes just can’t reach. For those of us with veneers, I swear by nano-hydroxyapatite toothpaste—it is a gentler way to protect your natural enamel. I also follow the latest Invisalign innovation trends because they prioritize patient comfort, which is vital in modern family dentistry. If you see a dark spot, don’t panic immediately; you can learn how to tell if that shadow on your tooth is a cavity or a stain before you rush to the clinic.
Your Smile is a Life-Long Investment
Taking care of your teeth isn’t just about vanity; it is about building confidence and health for every generation. Whether you are following expert veneer tips or just trying to keep your child’s breath fresh, the effort you put in today pays off for decades. Don’t let a little calcified gunk or a temporary whitening plateau discourage you. You’ve done the hard part—now you just have to protect the progress you’ve made. Have you ever discovered a cleaning hack for your retainer that actually worked, or are you still struggling with those stubborn white spots? Let me know in the comments!