Why Your Temporary Crown Keeps Falling Off Before Your Next Appointment
I’ll never forget the sound. Clink. It was a Friday night, and I’d just sat down for a rare fancy dinner. I took one bite of a crusty baguette, and suddenly, my tongue felt something cold, hard, and definitely not part of the bread. My temporary crown had bailed on me. Again. There I was, trying to discreetly fish a piece of dental-grade plastic out of my mouth while my friends discussed their weekend plans. It’s embarrassing, it’s annoying, and let’s be honest—it’s a little scary when you realize your tooth is now vulnerable and sensitive. If you’re reading this, you’re probably in that exact same boat, or you’re terrified that your next meal will be the one that ends your temporary’s short life. We’re going to solve this today. I’m going to share exactly why these little guys are so temperamental and, more importantly, how you can make it to your permanent appointment without another “clink” moment. Whether you’re comparing veneers vs crowns or just trying to get through the week, I’ve got you covered. [image]
Stop Fishing Your Dental Work Out of Your Dinner
If you’ve been searching for answers, you’ve likely wondered how to tell if your dental crown is loose before it actually takes a dive into your soup. The reality is that temporary crowns are a bit of a dental tightrope walk. They have to be strong enough to let you chew, but weak enough that the dentist can pop them off in two weeks without breaking your actual tooth. It’s a delicate balance that often tilts toward “too weak.” I learned this the hard way during my first major dental procedure. I thought that since it was “medical grade,” I could still enjoy my daily habit of chewy caramels. I was wrong. That mistake cost me a frantic Sunday morning call to an emergency line.
Is this temporary cap actually doing anything important?
Many people—myself included, back in the day—get tempted to just leave the temporary off once it falls. You might think, “It’s just for looks, right?” Wrong. According to the American Dental Association, these temporary restorations are vital placeholders. If you leave that space empty, your surrounding teeth can actually start to drift. This is remarkably similar to how to stop your teeth from shifting after your braces come off; your mouth is constantly in motion, and even a few days of a gap can cause your permanent crown to not fit correctly when it finally arrives. Plus, without that cap, you are prone to some serious discomfort. If you’ve ever felt why your teeth ache when you walk outside in the cold air, imagine that sensation magnified because your tooth’s inner layers are exposed to the elements. Have you ever had a crown pop off at the worst possible moment, like a first date or a big presentation? It feels like a minor catastrophe, but understanding the ‘why’ is the first step to keeping it in place. We aren’t just dealing with bad luck here; we’re dealing with physics and a very specific type of temporary glue.
Survival Tactics for the Temporary Crown Phase
Think of temporary cement as the “Post-it Note” of the dental world. It is designed to hold the restoration in place, but it is not meant to be a permanent bond. To survive the next fourteen days, you need to change how you interact with that side of your mouth. First, we have to talk about the “Soft Food Protocol.” I once thought I was being smart by eating a “soft” deli sandwich, only to realize the crust was just hard enough to act as a lever. It popped my temporary right off into my lap halfway through lunch. Stick to things that do not require a lateral grinding motion or heavy biting pressure. Think mashed potatoes, yogurt, and soft pasta.
The Floss Strategy That Saves Your Crown
This is where most people fail and end up back in the dentist’s chair. If you floss like normal—popping the string up and then pulling it back down—you will eventually catch the edge of the temporary and yank it out. I did this on a Tuesday morning before a big meeting. I felt a tiny bit of resistance, gave it a little extra tug, and suddenly I was looking at an exposed tooth in the mirror. Instead, you need to slide the floss into the gap, do your cleaning, and then release one end of the floss and pull it through sideways. It feels weird at first, but it is the only way to ensure you do not snag the margin. If you are used to the simplicity of invisalign innovation where you just pop out a tray to clean, this manual precision takes some getting used to. 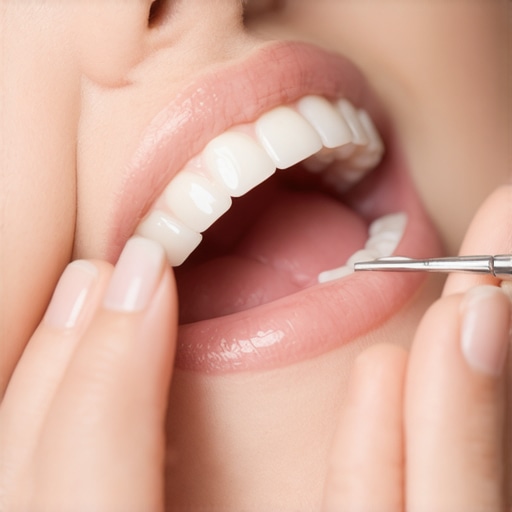
Keep the Area Clean Without Being Aggressive
You might notice the area around the temporary feels a bit different to your tongue. Some people say their teeth feel furry only a few hours after brushing because they are scared to touch the temporary restoration. Do not skip it. Plaque still builds up, and inflamed gums can make the permanent crown placement more difficult. Use a soft-bristled brush and gentle circular motions. If you have kids at home, you know that family dentistry tips always emphasize gentleness to avoid irritating sensitive tissues. The same applies here. You want to keep the gum line healthy so that when your permanent crown arrives, the tissue isn’t swollen or bleeding, which could interfere with the final seal.
Emergency Fixes for a Crown That Won’t Stay Put
If the worst happens and your crown pops off while the office is closed, do not panic, but do not ignore it either. You cannot leave the tooth exposed because of the extreme sensitivity—the kind where you find out exactly why your teeth ache when you walk outside in the cold air. Go to a drugstore and buy a small tube of temporary dental cement or even use a tiny dab of plain toothpaste (not the gel kind) or denture adhesive. Clean the inside of the crown, put a tiny bit of adhesive in, and press it back onto your tooth. This is a stop-gap measure, not a permanent fix. You still need to call your dentist immediately to have it professionally reseated.
Hold Off on the Whitening Products
I know you want a perfect look, especially if you are in the process of learning how to transform your smile with veneers, but now is not the time for aggressive teeth whitening strategies. Whitening gels can be incredibly irritating to the already sensitive prep-site under your temporary. Focus on maintenance and gum health now; the true sparkle comes after the permanent restoration is seated and sealed.While you’re playing defense with your temporary crown, it’s easy to get tunnel vision. You’re so focused on the ‘clink’ that you miss the bigger picture of what’s happening in your mouth. Most people think that once the permanent crown or veneer arrives, all their problems vanish. But there is a layer of nuance that even the most diligent patients often overlook. If you have ever wondered why your veneers look fake to the trained eye, it usually starts with a misunderstanding of what ‘natural’ actually looks like. We’ve been conditioned to want ‘toilet bowl white,’ but in the world of high-end aesthetics, that is actually the biggest mistake you can make.
The Translucency Trap Most Patients Fall Into
Everyone says they want a bright smile, but in my experience, the most satisfied patients are the ones who prioritize translucency over pure brightness. Natural teeth aren’t solid blocks of color; they are layered. If you demand a shade that is too opaque, you end up with what I call the ‘Lego-tooth’ effect. According to the Journal of Esthetic and Restorative Dentistry, the most successful restorations mimic the way light passes through natural enamel, particularly near the edges. When you’re choosing your final shade, don’t just look at the brightest tab in the kit. Look at how the color interacts with the light in the room. 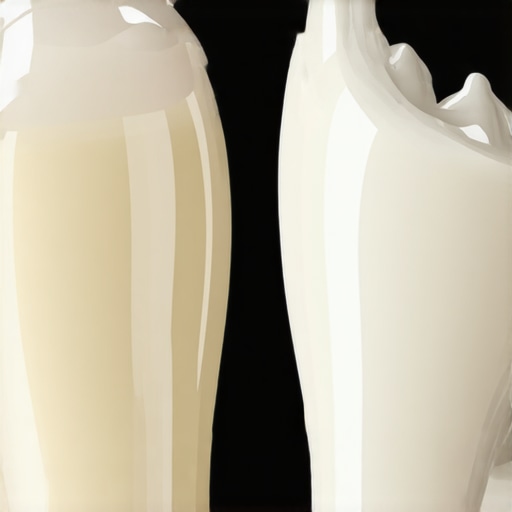
Why does my new smile feel like it’s taking up too much room?
This is a sophisticated concern that often catches people off guard. You might notice the real reason your new veneers feel bulky against your lips isn’t necessarily because they are too thick, but because your brain is recalibrating to a new ‘incisal edge.’ Even a fraction of a millimeter change in how your teeth support your lip can feel like you’re wearing a mouthguard. This is especially true if you are transitioning from invisalign innovation to final restorations; your tongue has spent months getting used to smooth plastic, and suddenly, it has to navigate new porcelain territory.
The ‘Oops’ Factor: Chemicals and Ceramic Don’t Mix
Here is a specific warning you won’t hear in every waiting room: stop trying to ‘even out’ your smile with over-the-counter products while you have temporary work or bonding. I’ve seen so many people make the mistake of using whitening strips on dental bonding or temporaries. They think they can brighten the surrounding teeth to match the new work. The problem? Natural enamel whitens, but the resin and ceramic do not. You end up with a ‘checkered’ smile that looks far worse than the slight yellowing you were trying to fix. Additionally, if you are currently using aligners, be wary of the problem with wearing your aligners for only 18 hours a day; that extra four-hour gap allows your teeth to micro-shift, which puts immense pressure on your temporary crown when you finally snap the tray back in.
The Hidden Nuance of Gum Line Darkening
Another advanced mistake is ignoring the gum tissue health during the ‘temp phase.’ If you let your gums get puffy, you might see why your porcelain crowns look darker near the gum line over time. It isn’t always the crown itself changing color; it’s often the shadow cast by inflamed tissue or the recession that happens if you were too aggressive—or not aggressive enough—with your cleaning. Have you ever fallen into this trap of trying to ‘DIY’ your dental results mid-treatment? Let me know in the comments. We’re all learning how to navigate this together, and your ‘oops’ moment might just save someone else a trip to the emergency dentist.Once you move past the initial shock of a temporary crown falling out, you enter the ‘Maintenance Phase.’ This is where I see most people relax too much. They think the hard part is over because the permanent porcelain is in, but the real work of longevity is just beginning. I personally treat my dental work like a high-end sports car—you wouldn’t put cheap gas in a Ferrari, so why use a 5-dollar abrasive toothpaste on a 20,000-dollar smile? To keep things looking pristine, I’ve curated a specific toolkit that I swear by, and it starts with understanding the physics of abrasion.
The RDA Scale is Your Veneers’ Best Friend
I learned the hard way that not all ‘whitening’ toothpastes are equal. In fact, most are the enemy of cosmetic dentistry. Every toothpaste has an RDA (Relative Dentin Abrasivity) value. The Indiana University School of Dentistry emphasizes that any toothpaste with an RDA value over 100 can significantly abrade the resin-modified glass ionomer or composite materials used in bonding and temporary cement. If you want to know how to keep your coffee habit without ruining your new veneers, the secret isn’t just rinsing with water; it’s using a toothpaste with an RDA under 70. This prevents those microscopic scratches that eventually trap stains and make your smile look dull. 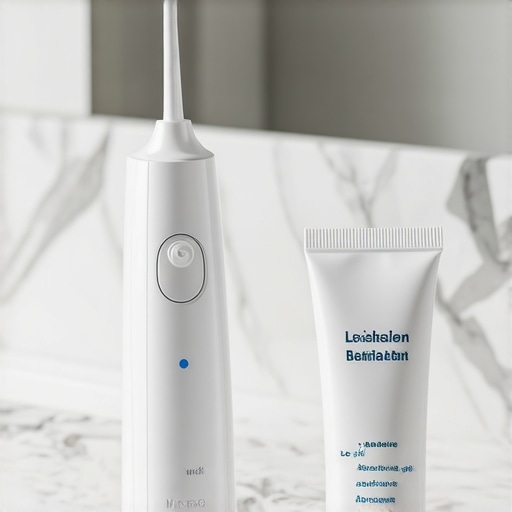
Why My Water Flosser Replaced Traditional String
I used to be a string-floss purist until I realized I was being too aggressive with my manual technique. If you’ve ever wondered why your gums bleed only when you use an electric toothbrush, it’s often because the vibration is hitting tissue that has been traumatized by ‘sawing’ with traditional floss. I switched to a water flosser with a specialized ‘orthodontic tip.’ This is a game-changer if you are navigating invisalign innovation or have a permanent bridge. It flushes out the bacteria without the mechanical ‘yanking’ motion that can stress a crown’s margin.
How do I maintain my bright results over the next decade?
The longevity of your smile depends on how you handle the nighttime. I personally use a custom-fit occlusal guard every single night. Even if you don’t think you grind your teeth, ‘micro-clenching’ during REM sleep can create stress fractures in porcelain. This is the most underrated aspect of ensuring family dental care; protecting the work you’ve already paid for. For my aligner friends, maintenance means more than just rinsing. I use ultrasonic cleaning tanks for my trays because it’s the only way to stop your clear aligners from smelling like old saliva. These devices use high-frequency sound waves to blast away the biofilm that a toothbrush simply cannot reach. Looking toward the future, I predict we will soon see AI-integrated ‘smart’ toothbrushes that sync with your dentist’s office to track the wear-and-tear on your veneers in real-time, alerting you to a potential chip before it actually happens. For now, the most advanced move you can make is to immediately ditch any toothpaste containing charcoal or baking soda. Your porcelain will thank you five years from now. If you’re serious about your results, try switching to a dedicated low-abrasive gel this week and notice how much smoother your teeth feel by Friday.
The One Secret Your Dentist Might Forget to Mention About the Waiting Game
Looking back at my own journey from a chipped tooth to a full restoration, there are a few things I wish I’d known that go beyond just what food to avoid. First, your tongue is a tiny detective; it will find every ridge and bump on that temporary restoration, but don’t obsess over it—the final porcelain will feel like silk. Second, if you notice your veneers look fake while they are in the temporary phase, don’t panic. Temporaries are often made of a single-shade acrylic that lacks the depth of the real deal. Third, that weird “zinc” taste from the cement is normal for the first few hours. Lastly, if you are nervous about the fit, knowing how to tell if your dental crown is loose versus just feeling different can save you a late-night panic attack.
My Personal Kit for Surviving the Two-Week Transition
I’ve narrowed down the absolute essentials for anyone waiting on their permanent work. I always keep a tin of dental wax nearby; it’s the best way to fix the sharp edge on a broken tooth or a jagged temporary margin. I also highly suggest investing in an ultrasonic cleaner, as it is the only way to stop your clear aligners from smelling like old saliva if you are wearing trays alongside your new work. Finally, bookmark the official RDA (Relative Dentin Abrasivity) charts to ensure your toothpaste isn’t secretly sanding down your investment. These tools turned my anxiety into a controlled process.
Claim Your New Smile with Confidence
The transition period is exactly that—a transition. It requires a bit of patience and a lot of soft foods, but the result is a functional, beautiful smile that you’ll have for years to come. Whether you chose veneers vs crowns, the care you put into your temporary crown today dictates how healthy your gums will be on the big reveal day. You’ve done the hard part by starting the work; now just breathe and let the cement do its job. Have you ever had a temporary crown fall out at the worst possible moment, or did you make it to the end without a single “clink”? Let me know your survival story in the comments below!